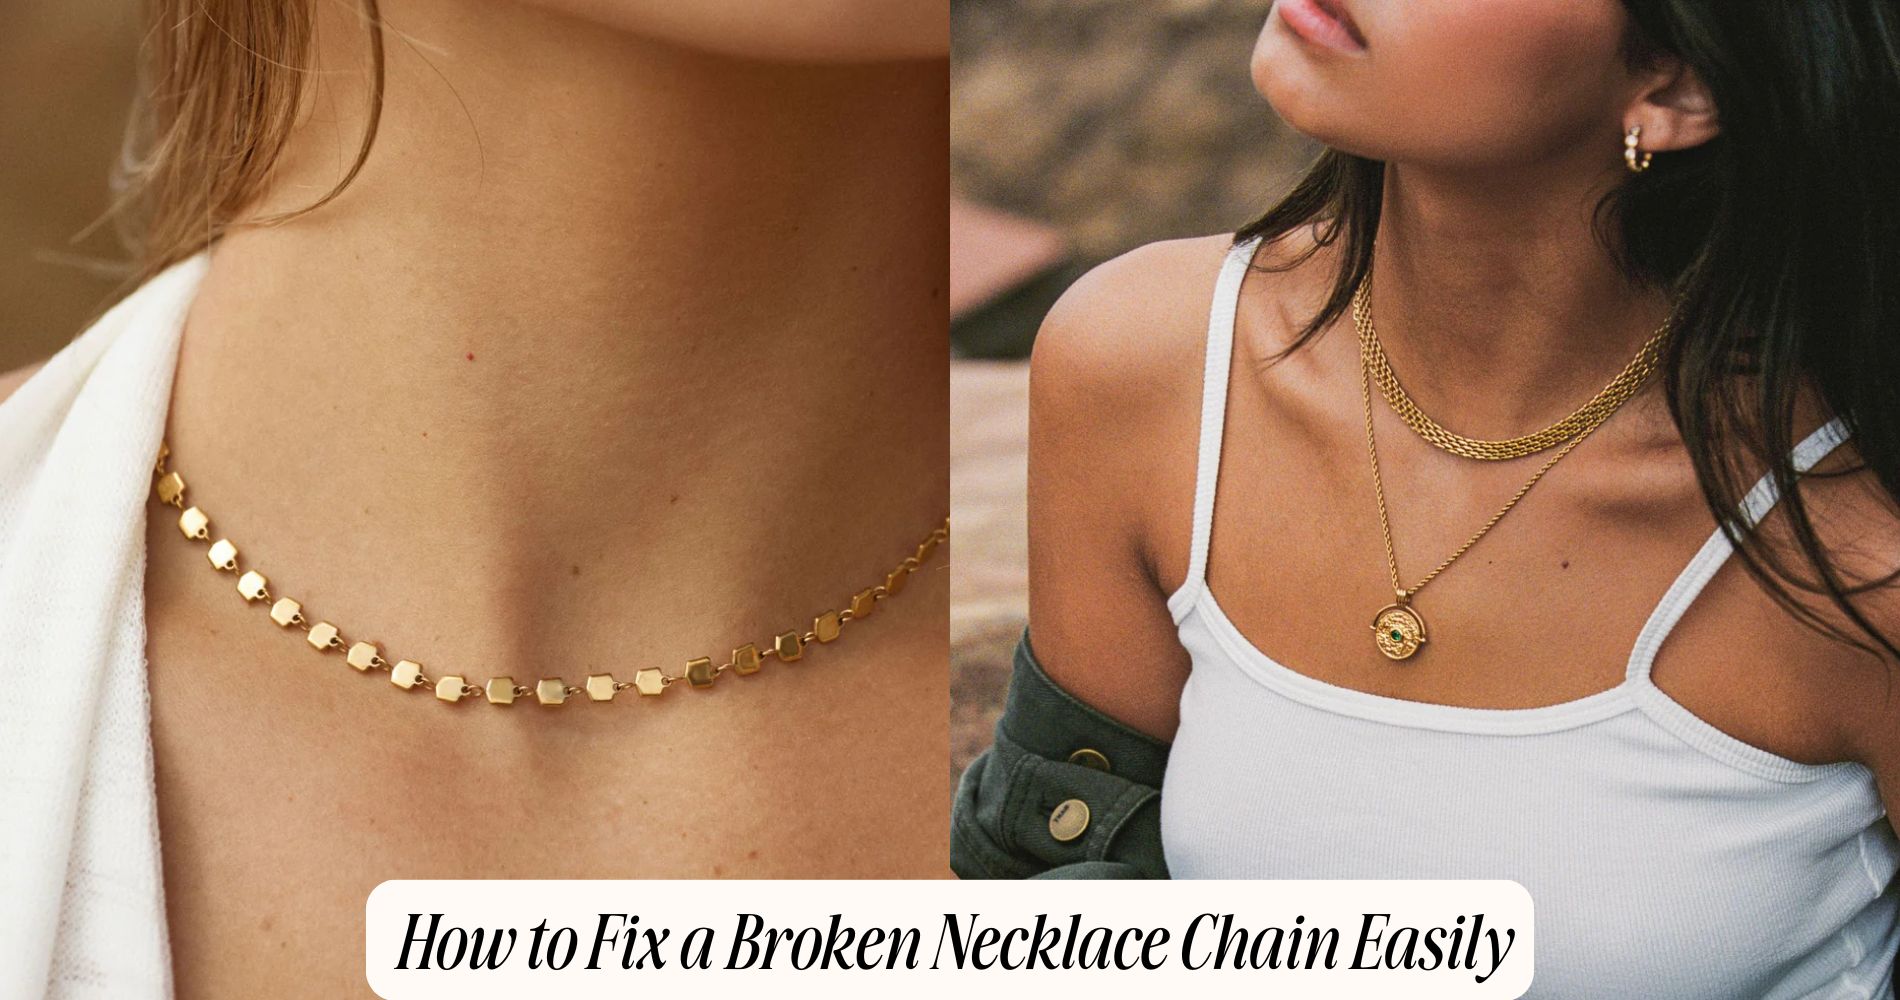
How to Fix a Broken Necklace Chain Easily
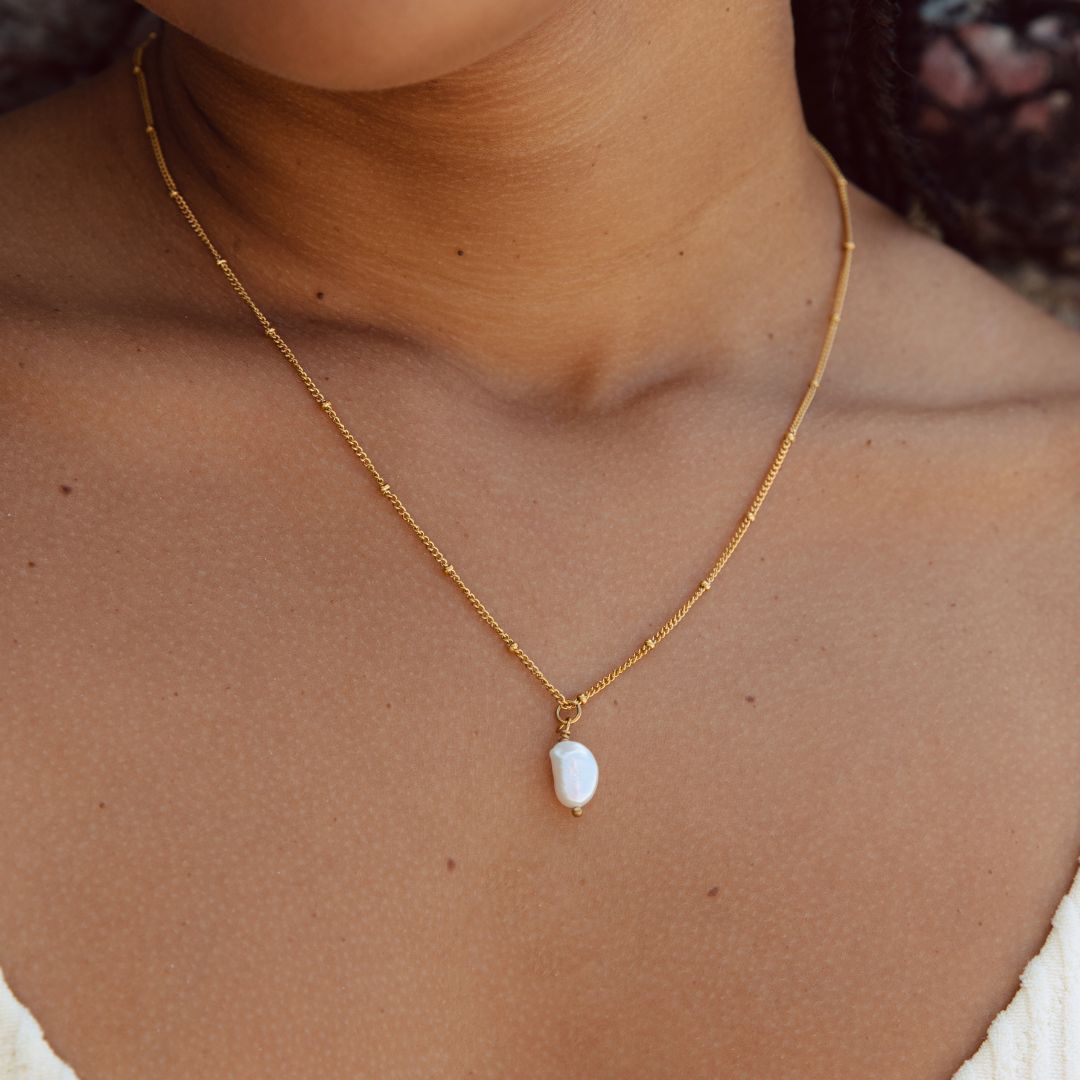
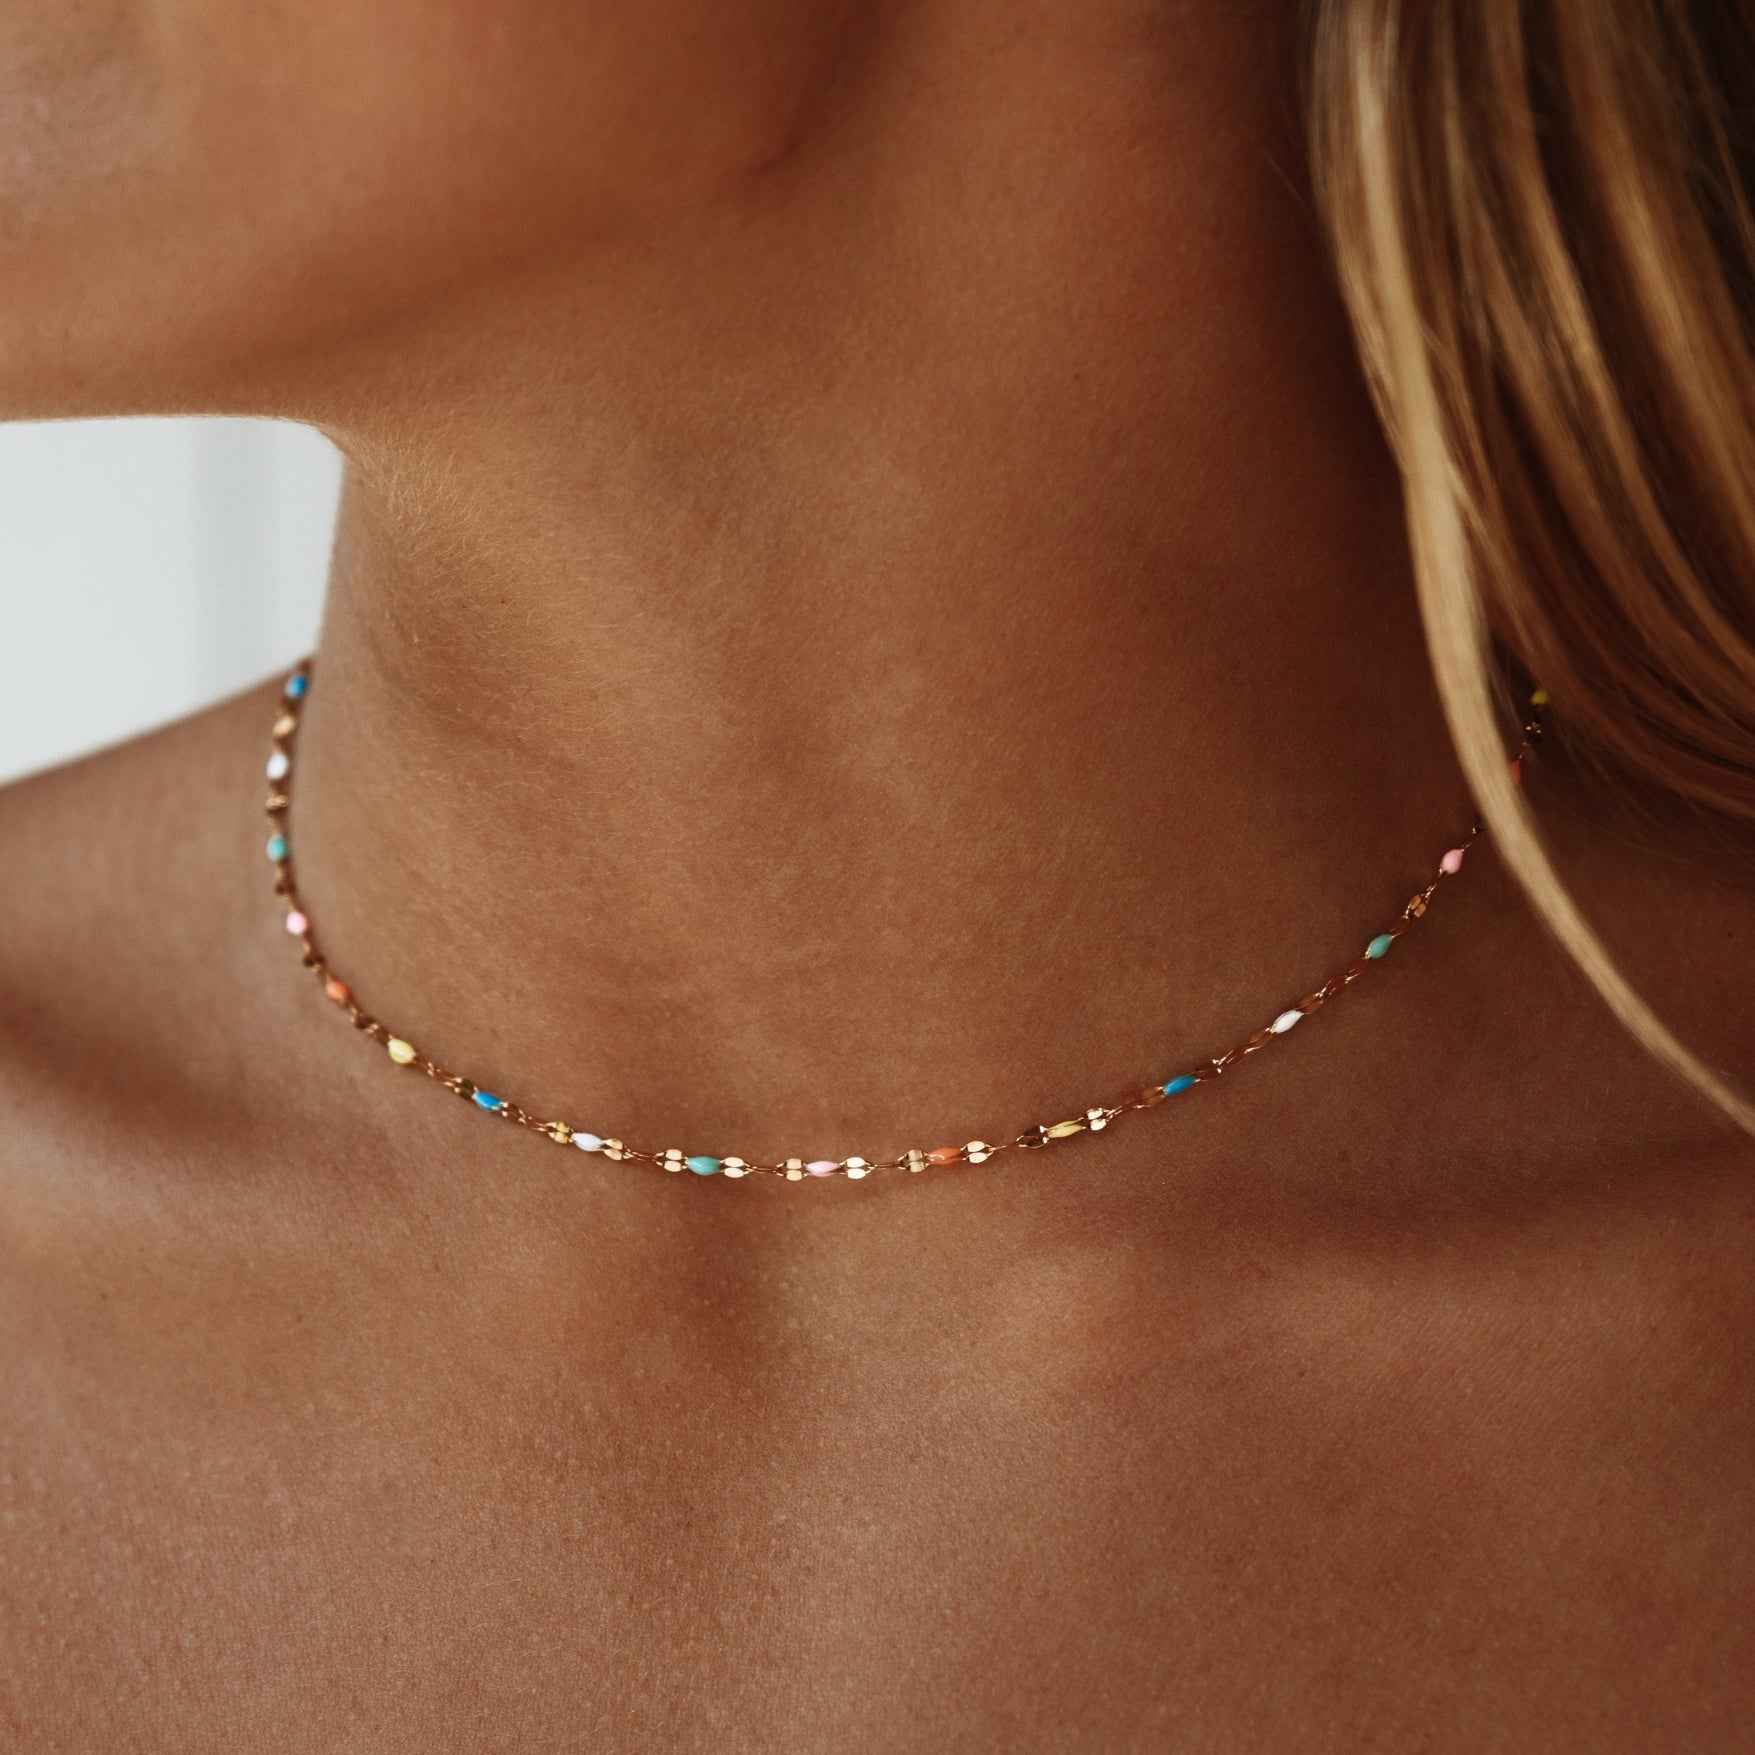
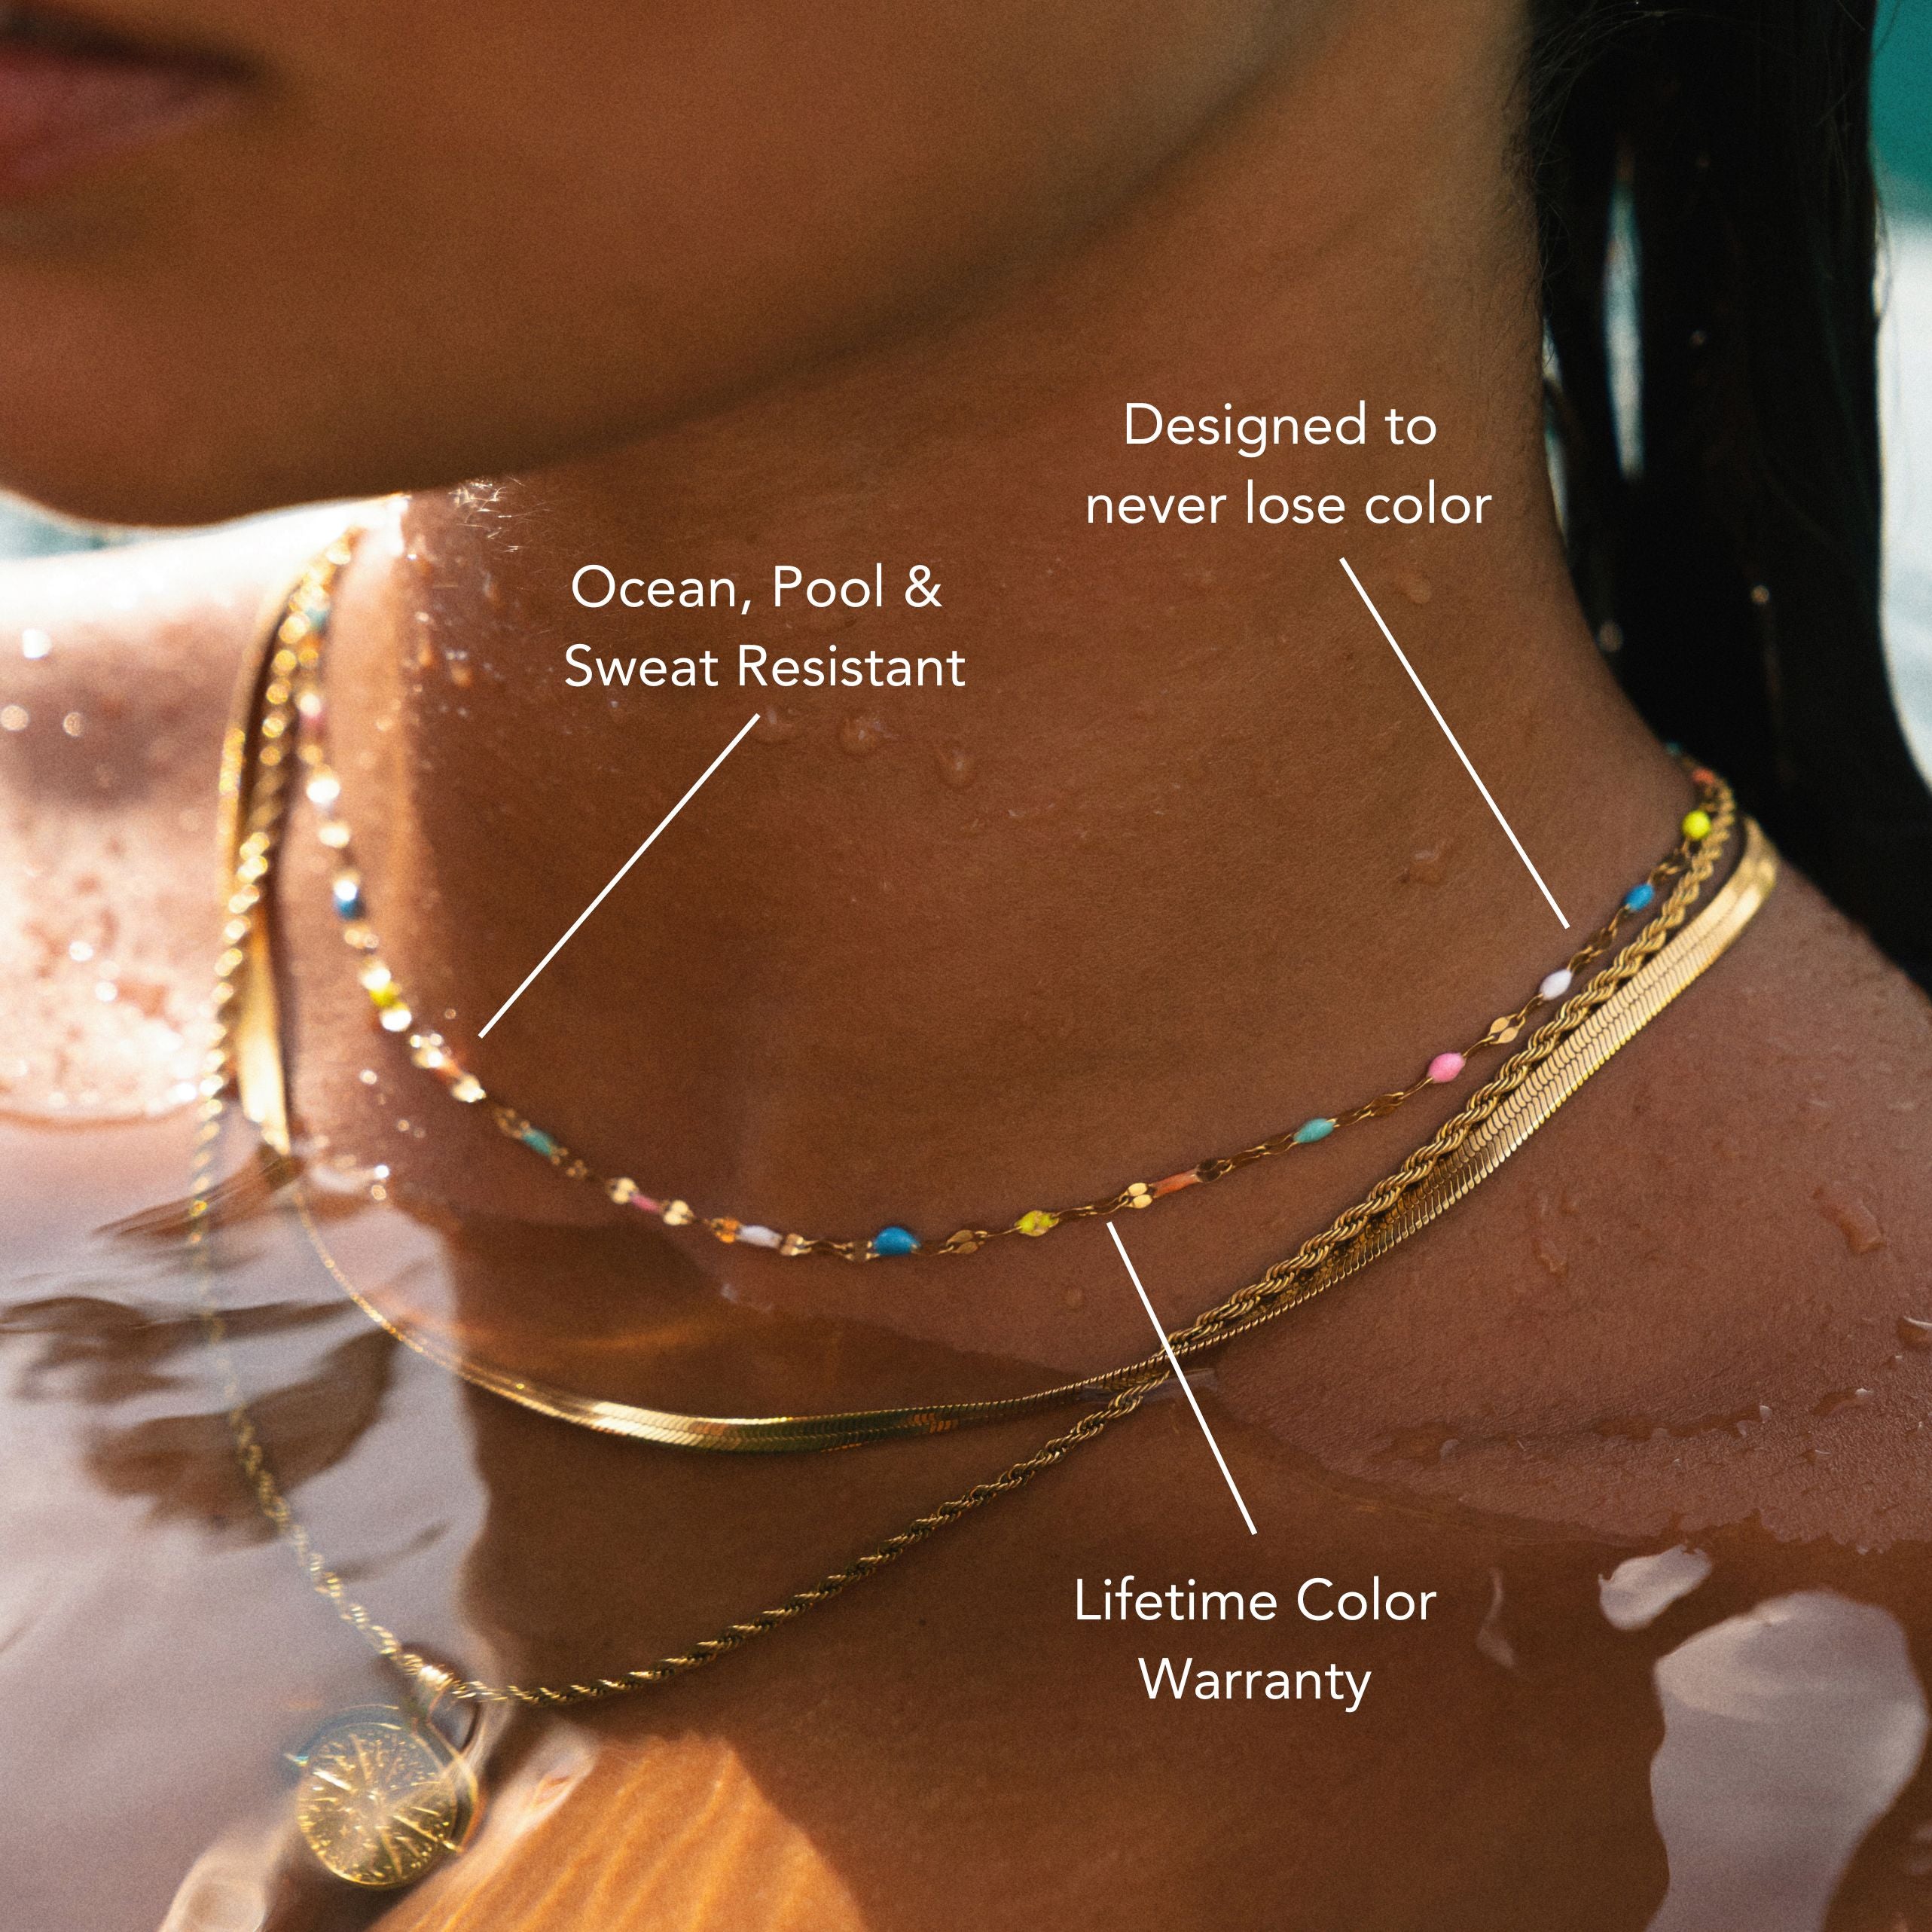
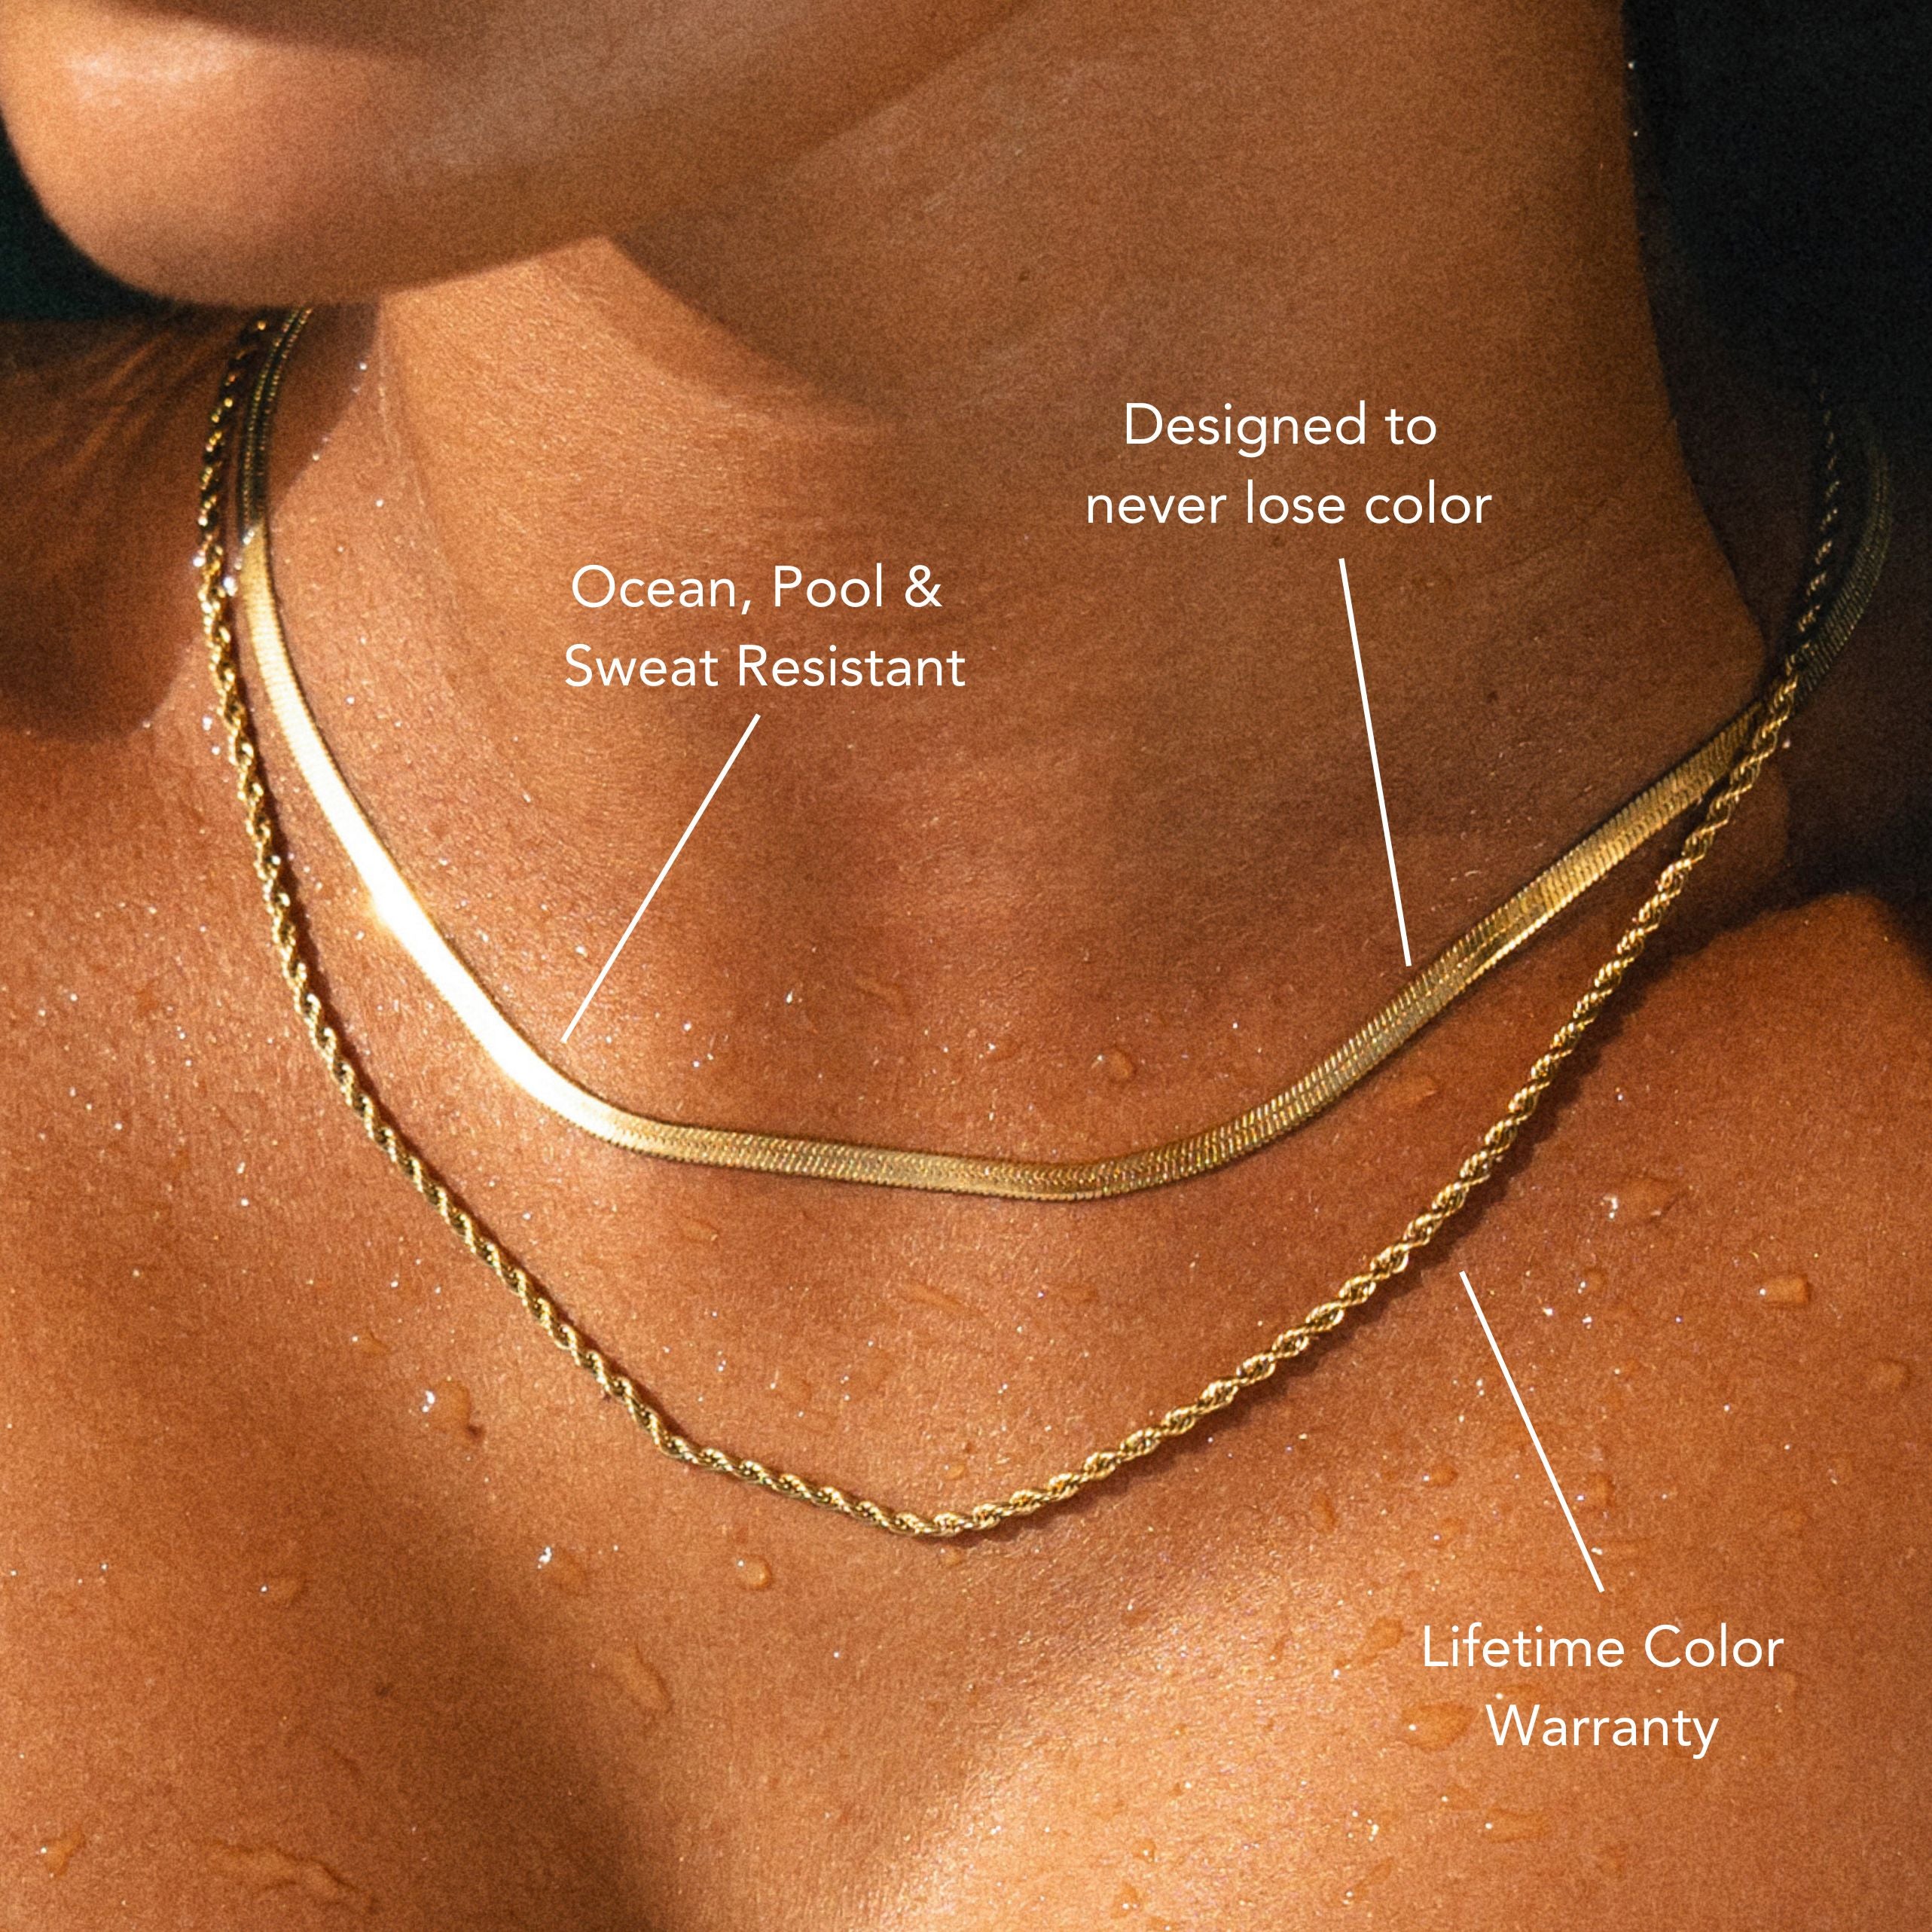
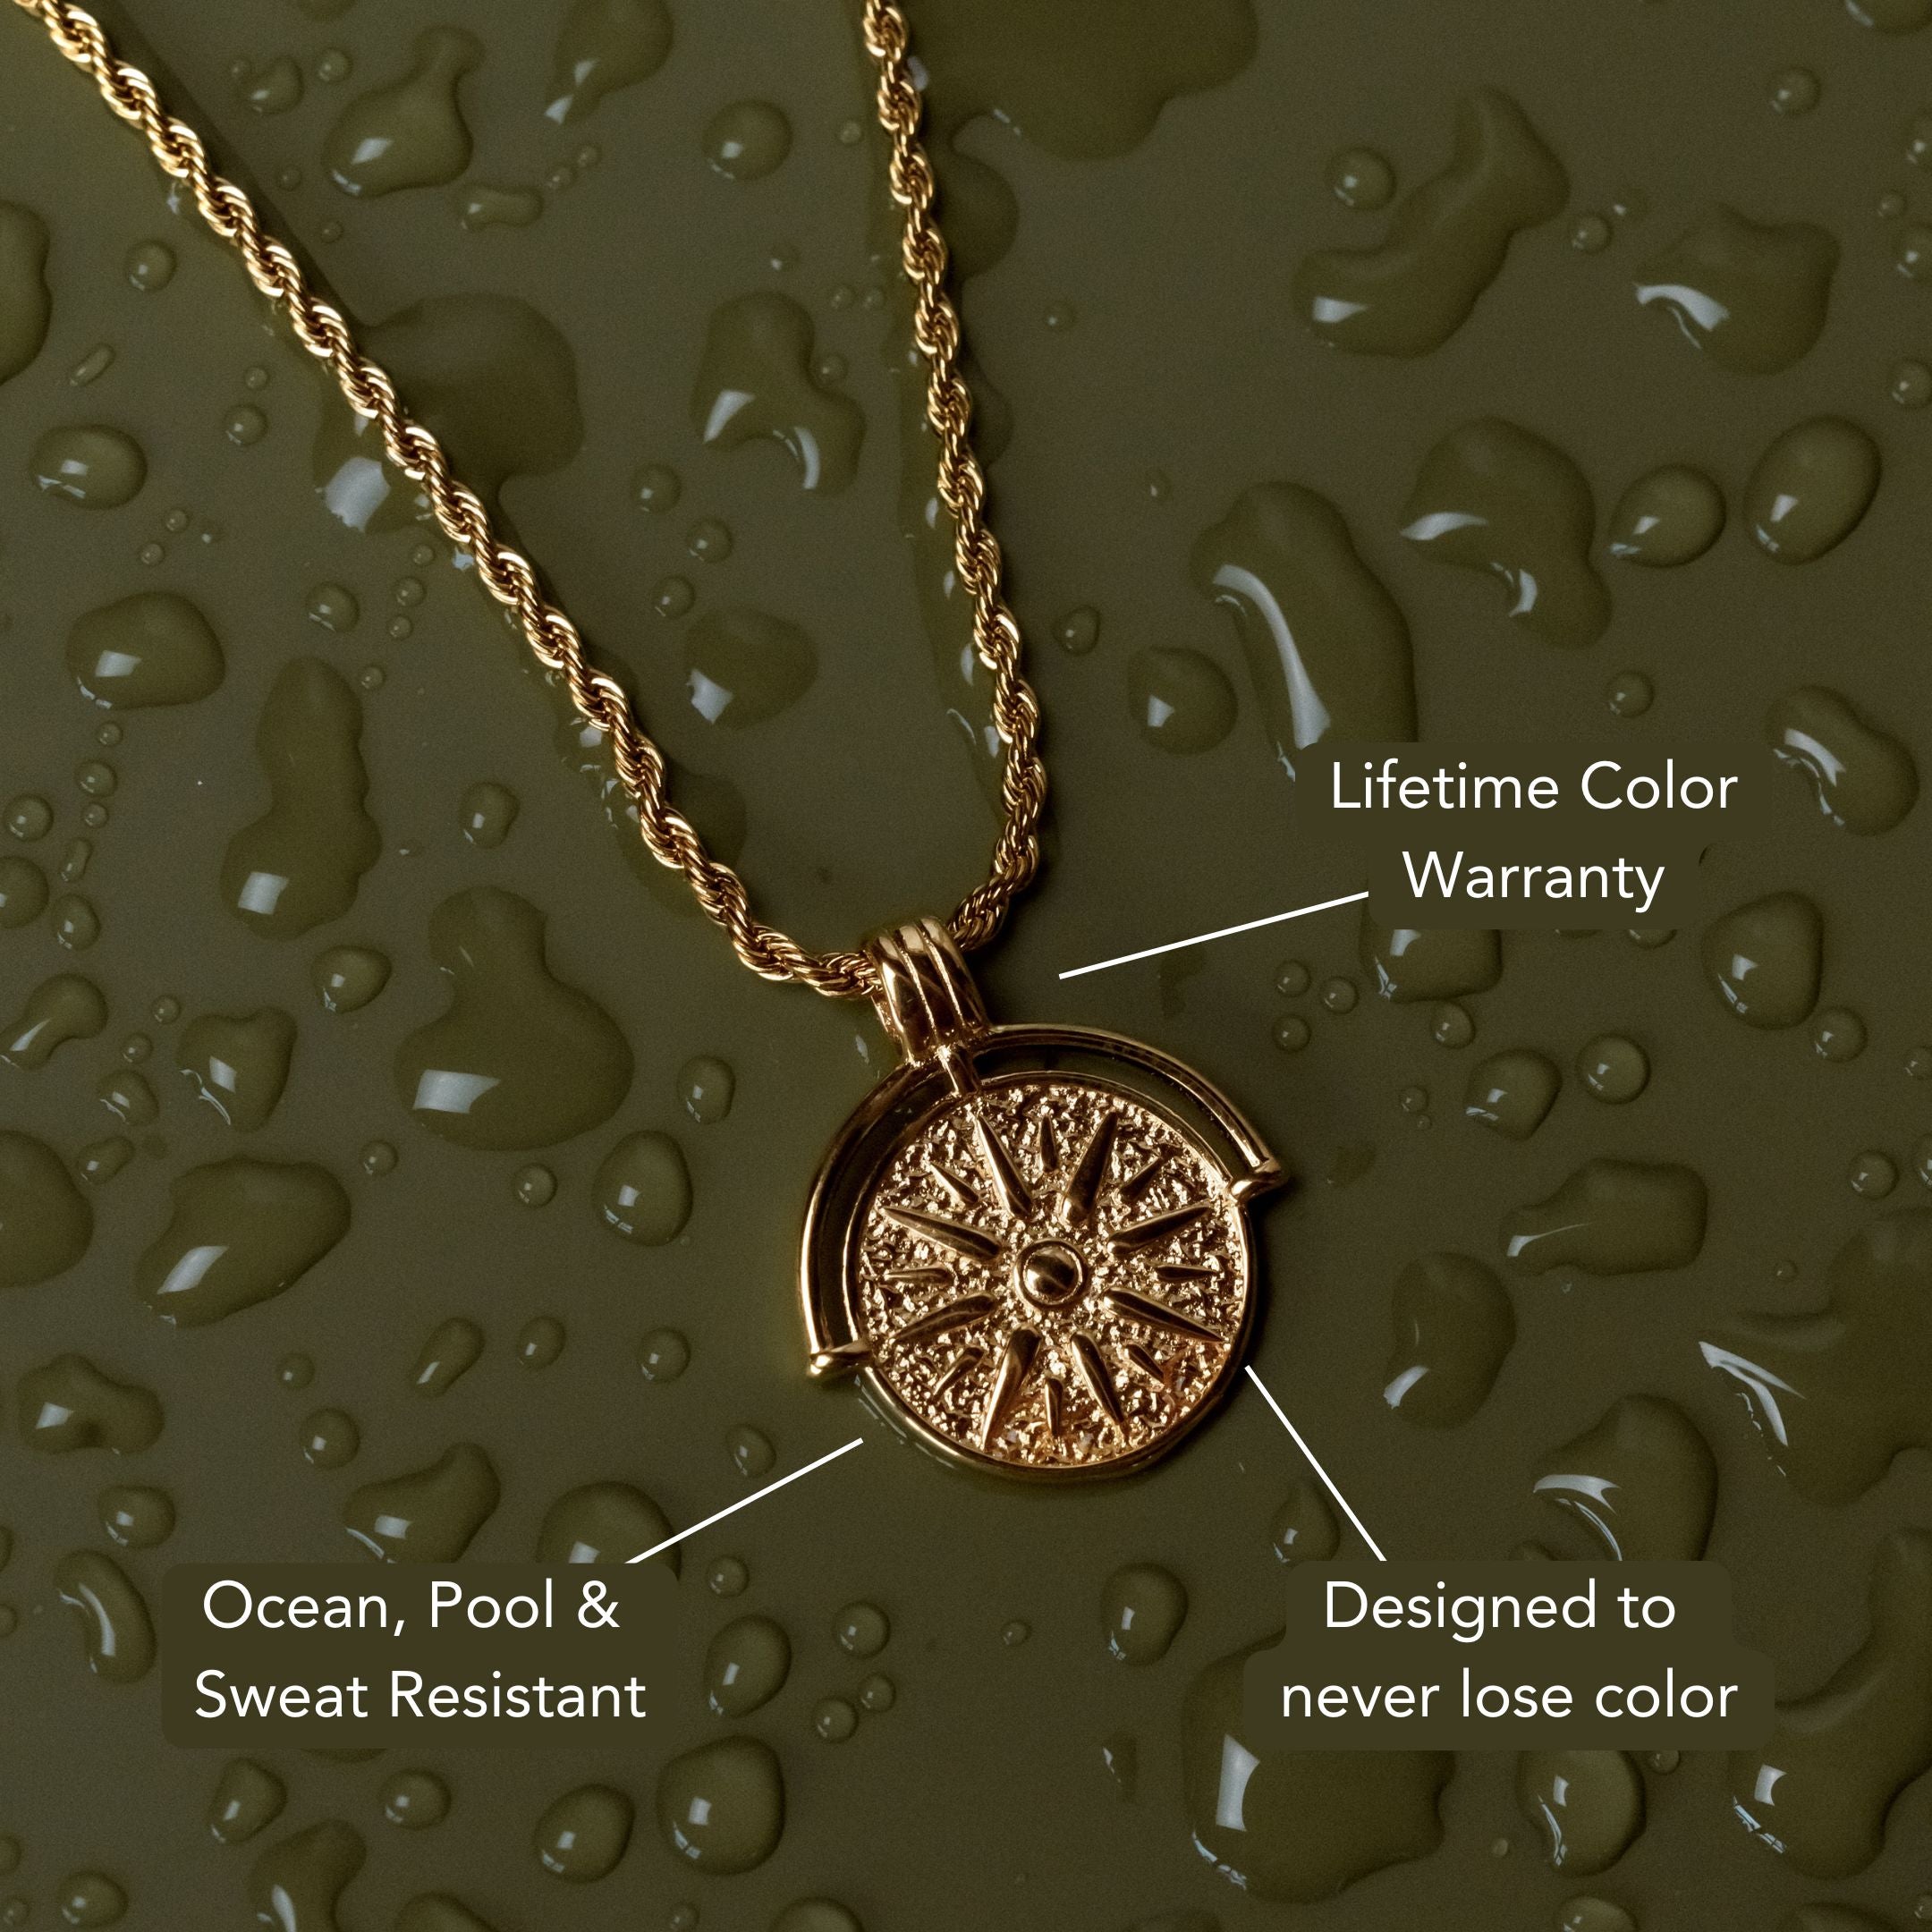
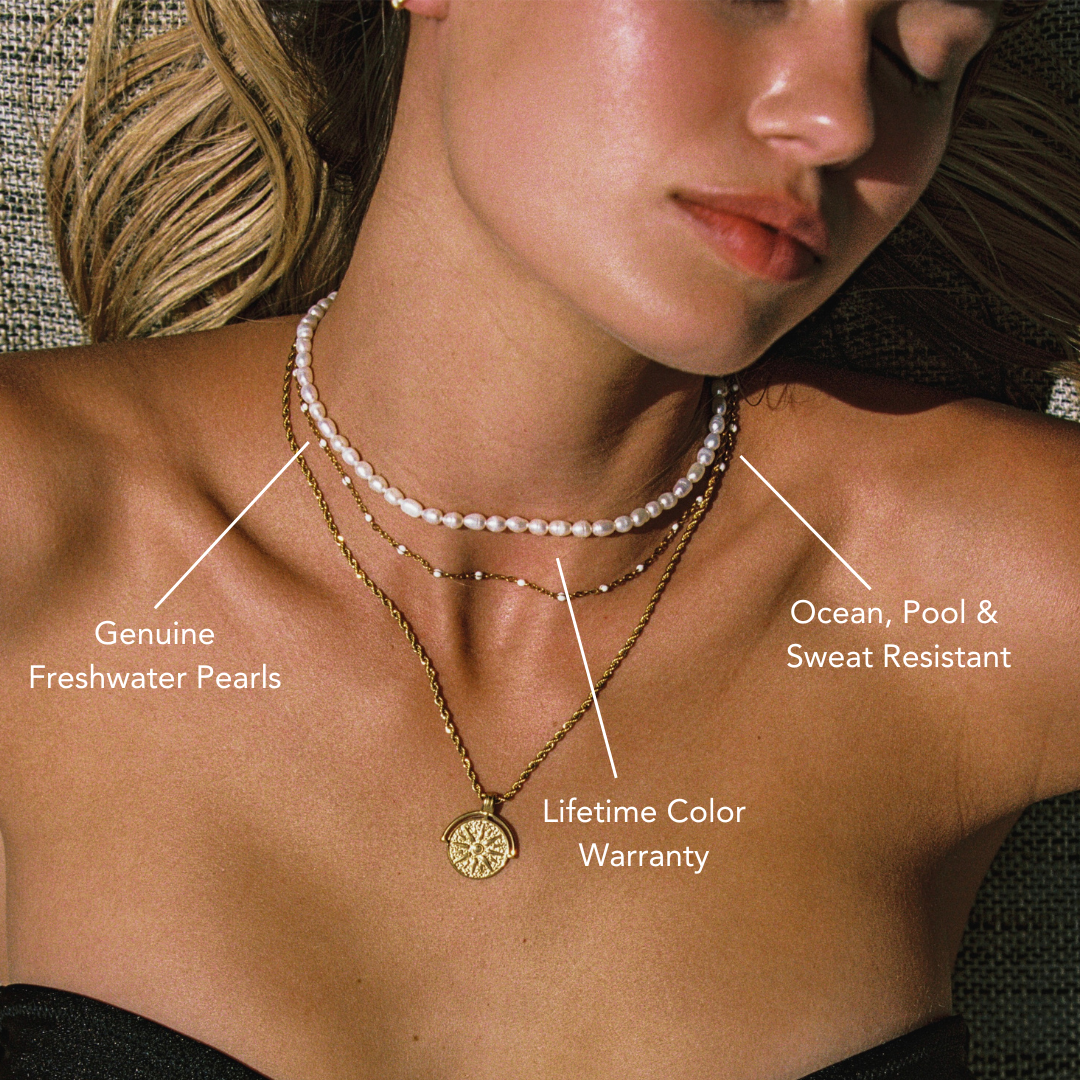
How to fix a broken necklace chain? Start by laying the necklace on a lint-free mat, putting on magnifiers, and inspecting it under bright light. Identify the failure point: a snapped link, an opened or missing jump ring, or a faulty clasp. For a snapped link, align the ends with smooth-jaw pliers and gently nudge it closed, then do a light tug-test. For a jump ring, match the gauge and diameter, twist it open minimally (never pull it apart), thread it through the chain and clasp, then close it flush and test again. If the clasp is broken, swap it using the jump ring and confirm it locks securely. Clean the area and check nearby links for stress. Choosing durable pieces like Waterproof Necklaces can also help reduce everyday wear issues—and next you’ll get precise step-by-step fixes plus prevention tips.
Gather Your Tools and Materials
Precision starts with preparation. Lay a lint-free mat on a bright, stable surface. Put on magnifying glasses for clear visibility. Wash and dry your hands to avoid oils contaminating chain materials.
Select tool types: flat-nose pliers, chain-nose pliers, round-nose pliers, flush cutters, and bent tweezers. Confirm spring bar or clasp pliers if you’ll handle clasps. Add a digital caliper for measurements.
Gather repair consumables: matching jump rings, soldered rings, split rings, crimp beads, and micro-tubes. Include a selection of clasps (lobster, spring-ring), solder paste or micro silver solder, flux, and isopropyl alcohol.
Prepare a heat source: micro torch or soldering iron with fine tip, plus a heat shield.
Sort chain materials: gold karat, sterling silver, stainless, brass, or plated. Place everything in labeled trays for quick access.

Identify the Type of Break
Break assessment comes first: place the necklace under bright, even light and inspect from clasp to clasp with magnification. Stabilize the piece on a lint-free surface.
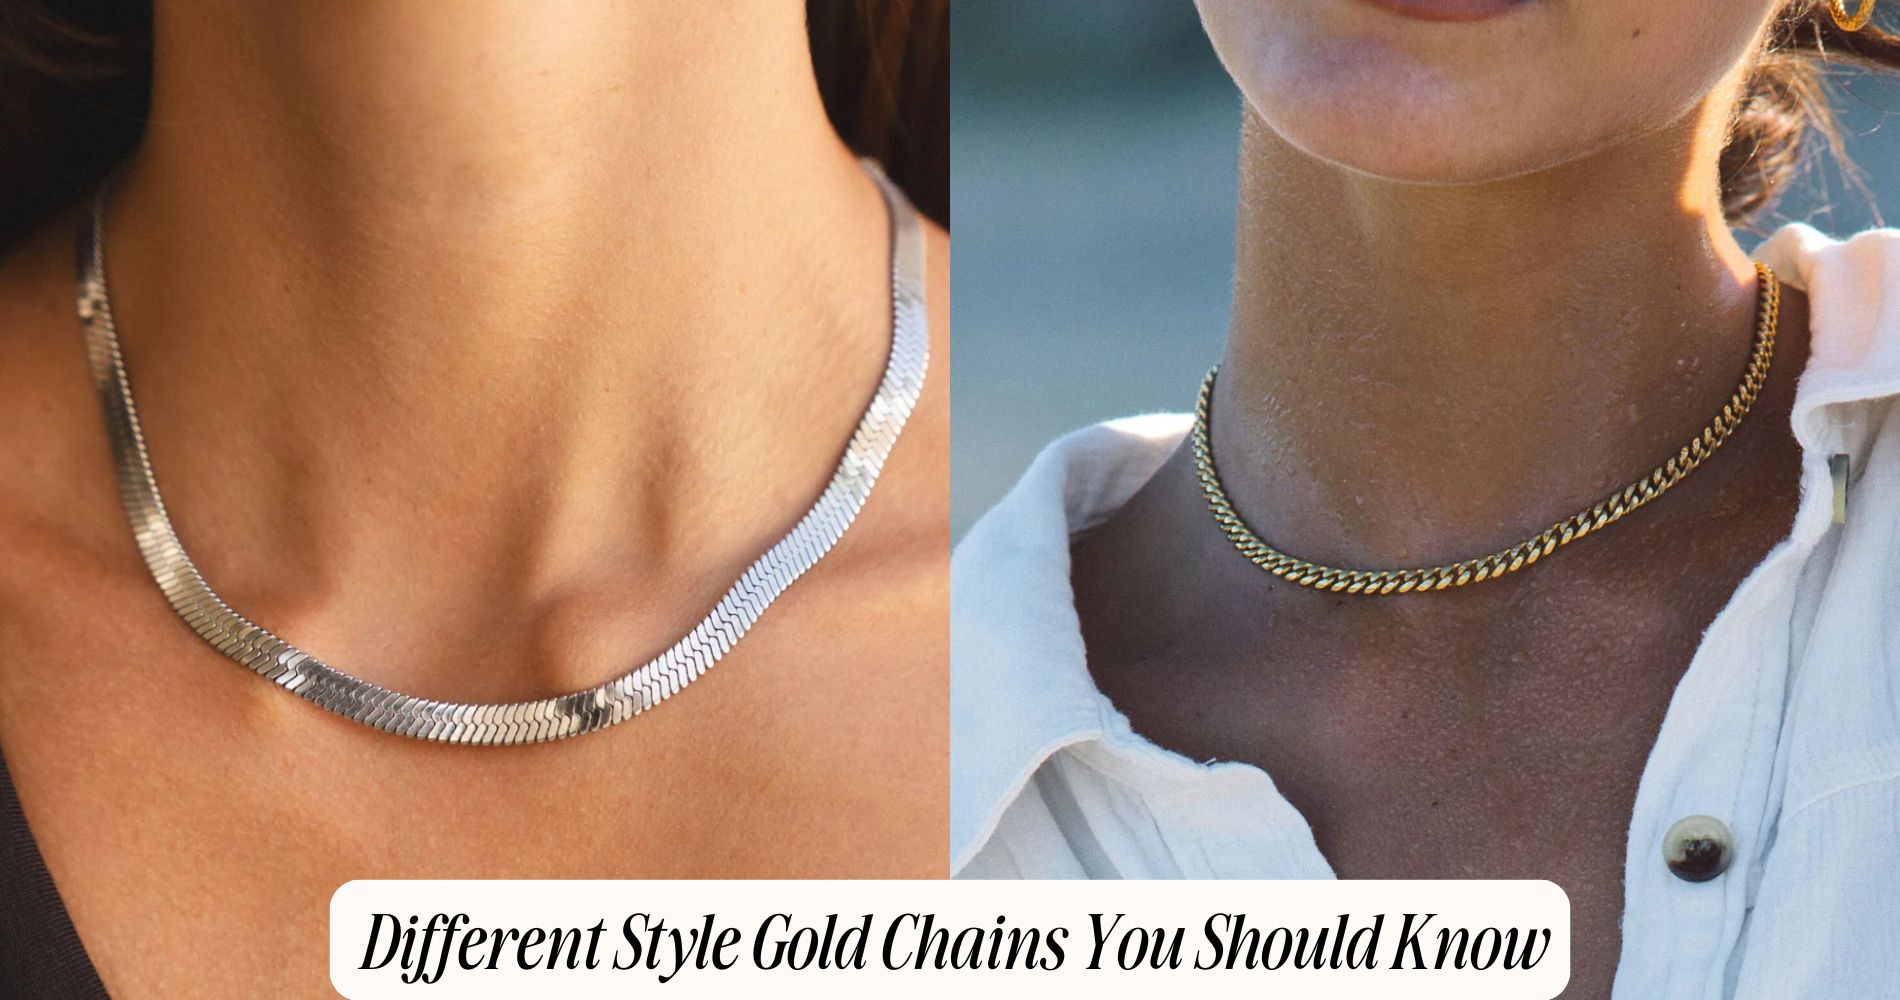
Identify the chain style because different types of chains fail differently: cable, curb, rope, box, snake, wheat, and Figaro. Track the path with tweezers and note the exact failure site.
Determine the break category. Look for:
- Opened jump ring near the clasp.
- Deformed or split link in the run.
- Missing link creating a gap.
- Frayed or pulled strands in rope or wheat.
- Kink-induced crack in snake or box.
- Solder joint separation at the end caps.
Record common causes: snagging, tensile overload, metal fatigue, poor solder, corrosion, or repeated kinks.
Photograph the area, measure link gauge, and confirm whether components are intact or absent.
Fixing a Snapped Link
Start by isolating the damaged link. Lay the necklace on a lint-free mat under bright light. Secure nearby links with tape to prevent movement.
Identify the snapped link’s break line. Grip each side with smooth-jaw pliers to avoid marring. Gently align the ends so they touch flush; don’t overlap. If the ends are distorted, trim burrs with flush cutters, then realign.
For cold chain repair, close the gap by nudging one side laterally, not outward, preserving the link’s oval. Once closed, burnish the seam with the plier’s flat face to harden and smooth.
Test tensile strength with a light pull; if it opens, repeat alignment and closure. Finish by checking neighboring links for stress and polishing the repaired area.

Repairing or Replacing a Jump Ring
With the snapped link secure, assess the jump ring that connects the chain to the clasp or pendant. Identify jump ring types: open, closed, or soldered. If it’s open and deformed, replace it; if soldered and cracked, discard and substitute. Match metal and finish. Measure wire gauge and diameter to keep proportions consistent with your chain; note common jump ring sizes (3–6 mm) and choose the smallest that moves freely without binding.
Use two flat-nose pliers. Grip on either side of the split. Twist ends forward/back—not outward—to open minimally. Thread the ring through the end link and attachment. Twist closed until edges align perfectly; for security, overclose slightly, then realign.
For worn holes, upsize one step within compatible jump ring types. Confirm closure by tug testing.
Replacing or Reattaching a Clasp
First, identify your clasp type (lobster, spring ring, toggle, magnetic) and verify compatibility with the chain’s end link and jump ring size.
Compare clasp types and clasp materials: match gold-filled to gold-filled, sterling to sterling, stainless to stainless to avoid galvanic mismatch.
Lay the necklace flat. If a jump ring is present, open it by twisting laterally with two pliers; don’t pull apart.
Remove the failed clasp. Thread the new clasp’s loop onto the jump ring or directly onto the end link if large enough.
Close the ring by reversing the twist, aligning ends flush; for security, choose a soldered or split ring where possible.
If you must add a new jump ring, select gauge matching the chain.
For magnetic clasps, guarantee polarity aligns before closing.
Test function.
Tips to Prevent Future Breaks and Tarnish
Although repairs restore function, prevent repeats by controlling stress, abrasion, and corrosion.
First, execute preventive maintenance weekly: inspect links, jump rings, and the clasp under bright light; note gaps, thinning, or grit.
Second, clean gently: use a non-ammoniated, pH‑neutral solution; brush with a soft nylon brush; rinse with distilled water; dry with lint‑free wipes.
Third, apply an anti-tarnish strip in your jewelry storage; isolate silver from sulfur sources; keep silica gel to control humidity below 50%.
Fourth, minimize mechanical loads: remove necklaces before sleep, sports, and showers; avoid layering chains of dissimilar hardness; route pendants to hang centrally.
Fifth, handle correctly: fasten before lifting, don last after cosmetics, and avoid chlorinated pools.
Finally, schedule annual professional inspections.

Frequently Asked Questions
Can I Fix a Gold-Plated Chain Without Damaging the Plating?
Yes. You can fix it using low-heat, plating-safe repair techniques: isolate the break, protect adjacent gold plating with heat-resistant gel, use precision pliers, cold-weld adhesive or micro-solder with flux, then polish gently and re-seal with clear lacquer.
How Do I Match Chain Thickness and Style for Replacements?
Measure the old chain’s width with calipers, note link pattern, and match gauge. Verify chain material compatibility (gold, sterling, stainless). Select identical link style (cable, curb, box). Confirm matching clasp styles and color tone. Order corresponding jump-ring size.
What Household Items Can Substitute for Jewelry Pliers Temporarily?
Use tweezers, small needle-nose nail clippers, or hemostats as alternative tools. For makeshift solutions, fold tape around fingertips, use two coins to pinch, or employ sturdy paperclips as micro pliers. Work slowly; protect links with cloth.
Is It Safe to Wear a Repaired Chain in the Shower or Gym?
No. For shower safety, keep the repaired chain dry; moisture accelerates corrosion and weakens joints. For gym activity, remove it; sweat, impact, and tension stress closures. Inspect links, test clasp tension, apply sealant, then wear only during low-risk tasks.
How Can I Tell if a Chain Is Worth Professional Repair?
Assess chain value: check metal karat, weight, and hallmark; verify gemstone authenticity. Estimate repair costs via quotes for soldering, clasp, or link replacement. Compare costs to resale/appraisal value. Inspect wear, kinks, porosity. Proceed if value exceeds costs.
Conclusion
You’ve got the tools, identified the break, and executed the right fix. Inspect the chain’s tension with a gentle pull. Confirm links are fully closed and the clasp seats securely. Polish contact points to reduce friction. Store the necklace dry, separate, and clasped. Use anti-tarnish strips and wipe with a microfiber cloth after wear. Schedule periodic checks for thinning links. If metal fatigue persists or soldering is required, stop and consult a professional jeweler.


Leave a comment
This site is protected by hCaptcha and the hCaptcha Privacy Policy and Terms of Service apply.